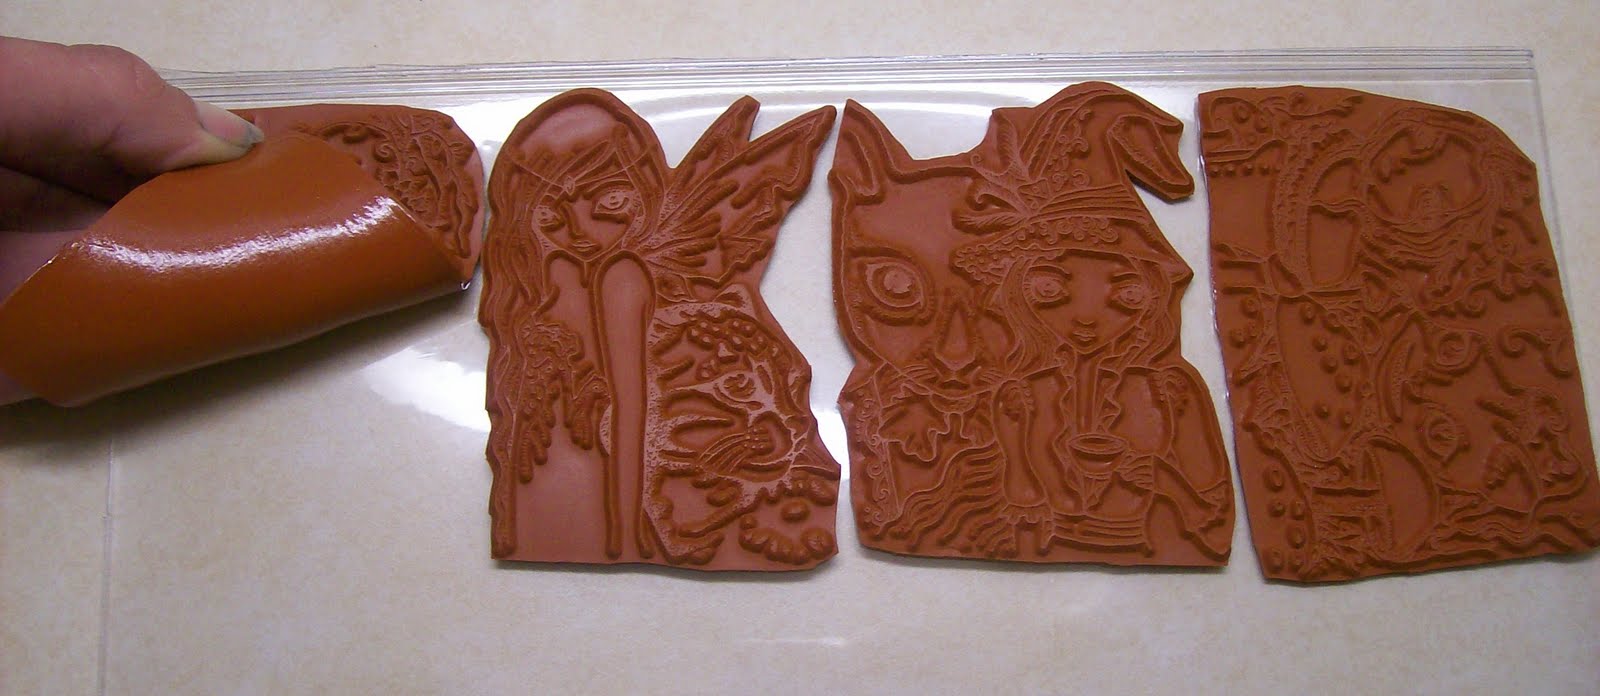
 Hi everyone! It's Angela here and I wanted to share with you a tutorial on how I mount my plain raw rubber Sweet Pea's. First I cut out all my images then I turn them upside down. I did all my newest images outside as the weather was just too pretty to stay inside.
I use Aleene's 'TACK-IT' Over & Over glue. You can purchase it at Michaels that's were I got mine. You can probably find it on some on-line stores. I know Joann and Hobby Lobby carries the Aleene's glue but NOT the TACK- IT Over & Over glue. And that's what you need. Just to warn you this glue is VERY, VERY sticky. So keep a wet rag handy. Make sure you shake the glue up GOOD or it will be watery.
 You will need a brush to apply the glue over the rubber. Any small to med. paint brush will work.
 I just squeeze a small amount on the back of my stamps and brush all over the rubber, you may need to add more glue or less depending on the amount you need.
After you have applied the glue all over in even coats let them dry for at least an hour or longer just to make sure they are completely dry. When dry they will be sticky and you can attach then to your acrylic blocks if you want to stamp right away or they are ready for storage.
And I am going to show you what I use to store them on/in.

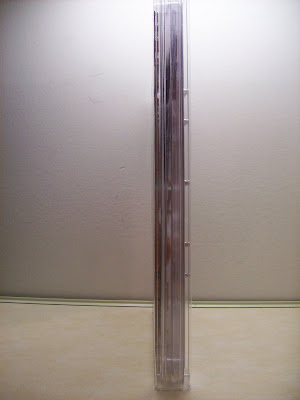
I use these clear plastic storage containers called Scrap Onizer's. I purchased mine at Unity Stamps but you can Google them and find them at other places. This was the cheapest place I found them at. You will also need to purchase the clear folders to attach them to. They come just like any other folder, but to get the best use out of them I cut them in half where they bend over. That way I have 2 pieces and I can lay them on top of each other. Here is a picture of one of the folders before I cut it in half.
 After I have cut them in half they are ready to be attached to the clear folder and ready for storage. When you want to use one, just pull it off the folder, stamp, clean and stick back.
Here's a picture to show you where I started sticking my stamps to the folder. And you can see glue where the light is hitting the dry glue.
 I turned the folder up side down to show you they are stuck and not going anywhere.


I also use the bottom of the storage container and stick some of my stamps to it. As it is made out of the same stuff. Then you can just start stacking up the folder halves on top of it.

Here is a picture to show you the container from the side. They are only about an 1" to 1.5" thick and can be stood up like a book. I have tried alot of different way's to store and attach my plain rubber stamps and this is by far the best to me that I have tried. I even use these container to storage my foam mounted rubber stamps. These storage containers works great for both. And the Aleene's TACK IT Over & Over glue is under $5 a bottle and this bottle goes a long way.
 I turned the folder up side down to show you they are stuck and not going anywhere.

I also use the bottom of the storage container and stick some of my stamps to it. As it is made out of the same stuff. Then you can just start stacking up the folder halves on top of it.

Here is a picture to show you the container from the side. They are only about an 1" to 1.5" thick and can be stood up like a book. I have tried alot of different way's to store and attach my plain rubber stamps and this is by far the best to me that I have tried. I even use these container to storage my foam mounted rubber stamps. These storage containers works great for both. And the Aleene's TACK IT Over & Over glue is under $5 a bottle and this bottle goes a long way.
Well I just wanted to show you how I store my stamps and how I attach them to my acrylic blocks for stamping. I never have to worry about losing a stamp either and I can see through the containers. I also take a marker and write the stamp company on the spine of my containers. Here is a picture of how they look stood up on my shelf.


17 comments:
Hi Angela
how organised are you?Fantastic tutorial. Nit sure if i can get any of these products in England. Thanks for sharingt
love SARAH xxx
Hi Angela. This tutorial very good for me. I have some rober stamps, and i did't know how to work with them. Thank you so much. Hugs. Nataliya.
I am going to run right out and buy some!!!! I have so many un-mounted stamps right now that needed something!!!! Thanks for the info!!!
KymKreates
Thank you for demonstrating this! I've often wondered if there was something quicker thank ez mount. I'm off to my nearest Michaels! :)
thanks for the info! i've been hesitant to buy any un-mounted stamps...but not any more!! ;)
What a great oraganizational system, I'll have to try this! Thanks so much for the tutorial.
Hugs, Christine
What a great tip! Thanks so much for sharing!!!
Aloha!
Great tutorial Angela and what an efficent way to store stamps! I'm gong to have to find some of that glue.
Great tutorial Angela! That is very clever!! Look at that amazing and organized storage!! Is that a display full of Copic Various inks back there I see!! Yum!!!
WOW whata brilliant storage solution, dont think we get goodies like that over here in england though, never mind. I very jealous about the amount of gorgeous sweetpea rubber you have there hehehehehe xxxx
Wow you are wonderfully organized! I never thought to use the Alene's tacky glue (so I went out and bought some to give this a try myself). Because you are not mounting onto a foam pad, do you stamp your images with something under your paper? Love this idea! hugs, Angela
Hey girl..I wanna see more pics of your stamp space and storage!
I am seriously going to have to get some of that. I have a pile and I really mean PILE of SP stamps I need to mount but I'm putting off buying EZ mount. Do you notice much of a difference without the foam when you stamp? Soooo smart!!
Hello again, this is the first chance I have to tell you that I love this idea! My stamps are half in metal DVD cases(Love them), and half in a plastic storage case that is for pictures. I love the DVD cases, but they only hold about six stamps and at $3 a case that adds up both in cost and space. I am going to give this a try when I get some cash in the bank. Thanks for the great pics. Hugs, Lisa
Thanks for the tips Angela! This was great!
You can purchase Aleene's Tack-It Over and Over at www.ilovetocreate.com
wow, this is brilliant - I am now trying to find it in the UK :o(
Great product and tutorial sweetie - thankyou
xxx
Post a Comment